

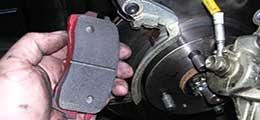
 If your brake pad wear indicators are squealing your name, then the information listed on this article will be of great use to you.
The likelihood exists, of other braking system parts being worn at the time of pad removal, so it’s good policy to check over your entire braking system at this time. Parts become compromised through corrosion, abuse, and old age, so be proactive about fixing substandard parts when you have the opportunity to do so.
Here is a list of things that mostly commonly fail on a braking system that you should be looking out for specifically:
Seals and Fittings- The easiest way to identify seal problems is to check for existing brake fluid leaks. Move around any brake system components that are attached to the brake line itself for excessive play as this may be a sign of seal degradation.
Brake Master Cylinder Cutway - * Source: tegger.com
Pay special attention to the master cylinder seal as this is a common point of failure.
Corrosion can wreak havoc on end fittings, so if you identify any signs of oxidation, make note of this for later inspections.
Brake Rotor Resurface Being Completed On Brake Lathe
* Source: northstaralltexas.com
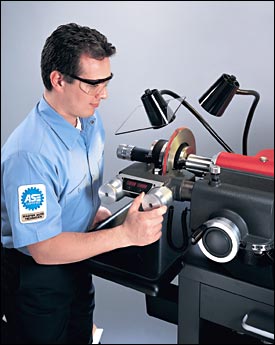
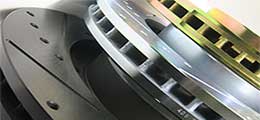
Uneven Rotors – Sometimes referred to brake warping, this problem is brought on by overheated brake pads that scorch and leave behind a glaze on the rotor surface.
You will be able to tell if your brake rotors are uneven by using a pinch micrometer to measure the run out of the rotor surface. Thicker deposits will actually be visible to the naked eye, but in either case, a rotor surface is in order.
Sometimes, improperly embedded brake pads can leave tracks in the brake rotors surface, but this is less common that you would think.
A professional machinist can resurface a brake rotor at most brake specialist shops. When the resurface is finished, measure the run out of your brake rotor before reinstalling it to verify it is within spec once again.
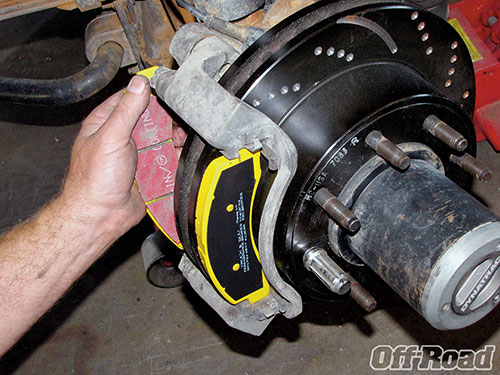
Brake Rotors Gouges- If you have driven around on overly worn brake pads for an extended period of time, the screws that hold together the brake pad can start digging into the brake rotor causing irreparable damage. Any grove that is over .012” in depth on the rotor will qualify it as junk.
After you have verified that all brake system components are safe for operation on your vehicle, you should follow a few other procedures before installing the brake pads to your vehicle:
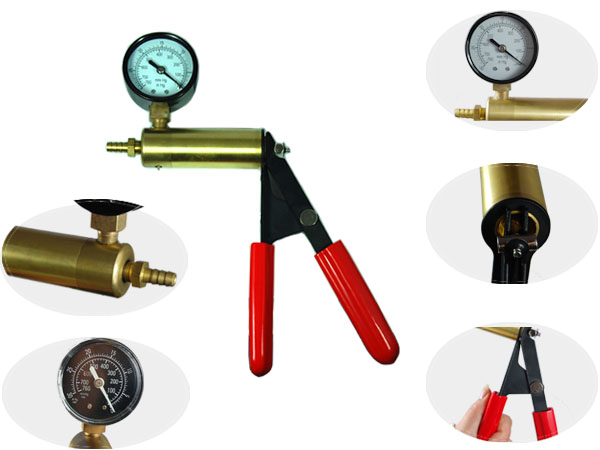
Change The Brake Fluid- Use a vacuum pump for sucking out the brake fluid rather than a pressurized device, and refill with new brake fluid of the same type used previously.
Typical Brake Fluid Vaccuum Pump
Clean The Brake Rotor Surface- To remove remnants from your previous pad set, use medium grit sand paper to file off the excess pad left behind. Once your rotor is showing bare metal once again, wash the rotor surface with some soap and water. Any oil on your hands should not end up on the rotor surface during the process as the rotor must be free of contaminants.
Lubricate Brake Calipers- Putting lubricant on the calipers’ moving parts is necessary, as they are not self-oiled.
Once all of these things are completed, you are ready to install the new brake pads you have purchased. Do not forget to bed in your brakes with the proper bedding procedure for your brake pad type!

